How to Fix a VCR That Eats Tapes – Is your VCR eating tapes? Don’t throw it away yet! Learn how to fix a VCR that eats tapes with this easy DIY repair guide. Discover cleaning tips, belt replacements, and alignment tricks to restore your vintage VCR.
Introduction
VCRs may be outdated, but many people still use them to watch old home movies, vintage films, or nostalgic recordings. One of the most common VCR problems is tape-eating, where the machine chews up, wrinkles, or even snaps your precious tapes.
Before you give up on your VCR, try these step-by-step troubleshooting and repair methods to fix it yourself—no technical expertise required!
Why Does a VCR Eat Tapes?
Several issues can cause a VCR to eat tapes:
- Dirty or worn-out pinch roller
- Loose or broken belts
- Misaligned tape path
- Sticky or damaged internal mechanisms
- Weak motor or worn-out gears
Let’s diagnose and fix each problem.
Tools You’ll Need
Before starting, gather these tools:
- Screwdrivers (Phillips & flathead)
- Isopropyl alcohol (90%+ purity)
- Cotton swabs & microfiber cloth
- Rubber belt replacement kit (if needed)
- Compressed air (optional for dust removal)
Step 1: Clean the VCR Internally
Dirt and grime buildup is the #1 cause of tape-eating.
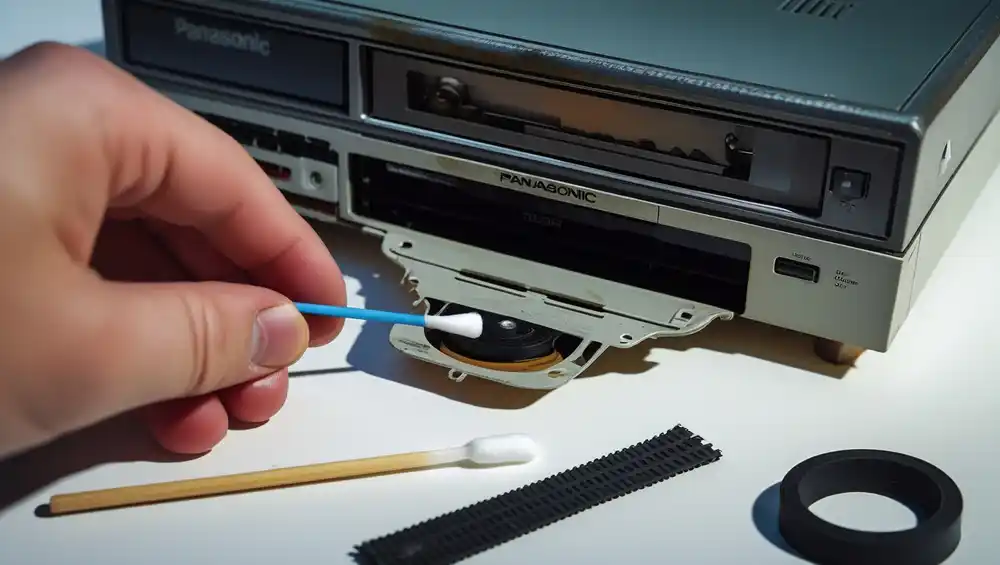
A. Cleaning the Pinch Roller & Capstan
- Open the VCR – Remove the top cover by unscrewing it.
- Locate the pinch roller & capstan – These are the rubber and metal rollers that guide the tape.
- Dampen a cotton swab with alcohol and gently scrub the rollers until no black residue comes off.
- Wipe the video head (the small drum) carefully—never use excessive force.
B. Cleaning the Tape Path
- Use a dry microfiber cloth to wipe down the guide pins and tape path.
- Avoid paper towels—they can leave fibers behind.
Step 2: Check & Replace Worn Belts
Old VCR belts degrade over time, causing playback issues.
How to Replace VCR Belts
- Locate the belts – They’re usually near the motor.
- Remove the old belt – If it’s stretched or cracked, it needs replacement.
- Install a new belt – Match the size with a VCR belt kit (available online).
- Test the mechanism – Manually turn the gears to ensure smooth movement.
Step 3: Fix Misaligned Tape Guides
If the tape path is misaligned, the VCR won’t load tapes properly.
Adjusting the Tape Guides
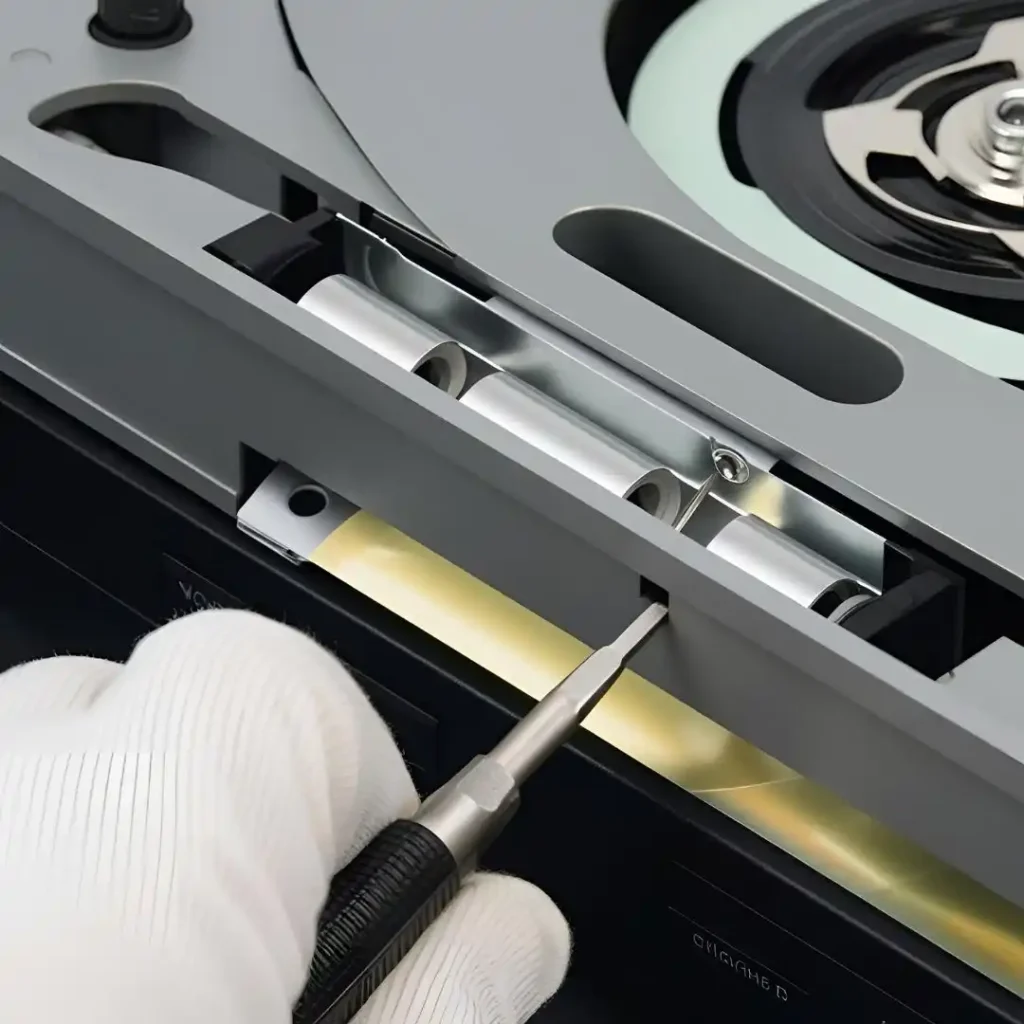
- Insert a test tape and observe where it gets stuck.
- Gently adjust the guide rollers with a small screwdriver.
- Check for bent parts – Straighten any twisted metal guides carefully.
Step 4: Lubricate Sticky Mechanisms
Old grease hardens, causing gears to stick.
How to Lubricate a VCR
- Use silicone-based lubricant (never WD-40—it attracts dust).
- Apply a tiny amount to moving gears and rails.
- Cycle the mechanism manually to spread the lubricant.
Step 5: Test & Prevent Future Issues
After repairs, test with a cheap or blank tape first.
Tips to Prevent Future Tape Eating
✔ Store tapes properly – Keep them upright in a cool, dry place.
✔ Clean the VCR regularly – Dust every few months.
✔ Avoid rewinding inside the VCR – Use a separate rewinder.
When to Call a Professional
If your VCR still eats tapes after these fixes:
- The motor may be failing
- Critical gears could be broken
- The circuit board might need repair
Consider taking it to a vintage electronics repair shop if the unit has sentimental value.
Final Thoughts
Fixing a tape-eating VCR is often a simple DIY job. By cleaning, replacing belts, and aligning the tape path, you can restore your VCR to working condition. Whether you’re preserving old memories or enjoying retro media, this guide helps you save money and extend your VCR’s life.
Did this guide help you? Share your VCR repair success story in the comments!